Here is a writeup about installing my old Diamond Hex speakers in the CL. I could not find much info on what would fit so I decided to wing it and it turned out ok. For those that are interested these are the old Eton made first generation 6.5″ (Really closer to 7 as they are over-sized) speakers with the silk tweeters.
I first followed the instructions at http://www.acurazine.com/forums/showthread.php?t=335272 to remove the door panels.
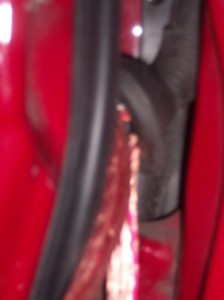
Next I had to run the wires through the grommet into the door. This was a real pain because I was running two 14 gauge wires, one for the tweeter and one for the mid. I pulled the grommet out of the door and the body first and then taped the wires to a short piece of clothes hanger wire that I had rolled over on one end so as not to puncture the grommet. I then used some Vaseline to lube the coat hanger and the wires. After about 15 minutes of pure hell per door the wires were finally through and could be pulled through into the door.
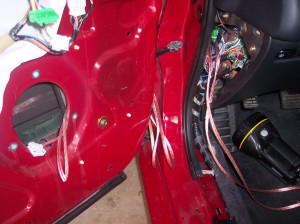
The next challenge was to run the wires through the body into the car. This is a pain because there is so much electronics stuffed under the dash and also the fact that the hole where the grommet meets up with the body does not meet up with where the wires eventually feed into the car. You will need to try and angle the wires toward the rear of the car while pushing them through the hole where the grommet meets the body and then hope your hand is small enough to reach around all the electronics and find the wires.
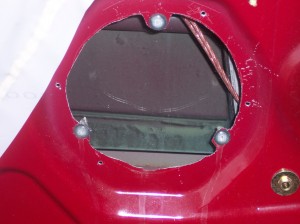
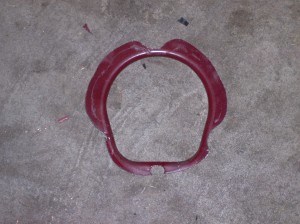
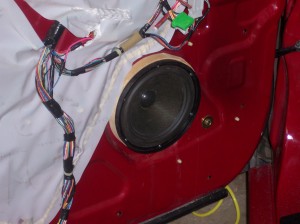
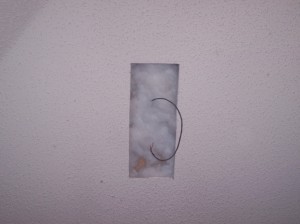
Once the wires had been pulled into the car, the grommets reattached and the wires ran along the passenger side to the trunk it was time to fit the speakers. Id wanted a stock look so I decided to mount the mids in the stock location in the door and the tweeters in the stock location in the sail panels. To properly fit the mids I had to cut out some of the sheet-metal where the stock speaker was, I was lucky in that I was able to cut enough metal but still leave the three places where the stock speaker was mounted so it could be put back in at a later date if needed. Below is a picture of the metal that was cut out.
I then made spacers out of 3/4″ MDF that allowed the speaker magnet to clear the window glass but did not interfere with the door panels. I drilled 4 holes in the MDF spacer for self tapping sheet-metal screws and then tapered the holes a bit so the screws would be flush with the MDF when installed so as not to interfere with the speaker mounting. I used some short wood screws to mount the speaker to the spacers.
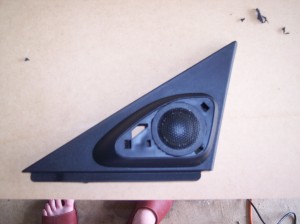
For the tweeters I had to dremmel out a larger hole in the sail panel and also dremmel out some of the plastic on behind the fabric cover piece for clearance.
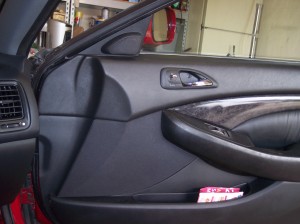
The finished product looks stock and sounds much better. Up next mounting the amps and building the sub enclosure.
